« back to Home Decorating & Design forum
| Topic by MarkTheFiddler | posted 08-17-2012 06:06 AM | 7499 views | 0 times favorited | 7 replies |  |
 |
|
08-17-2012 06:06 AM |
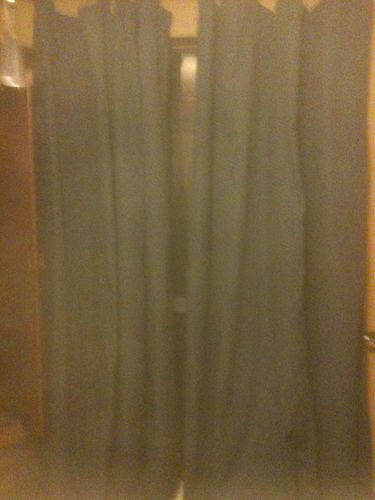
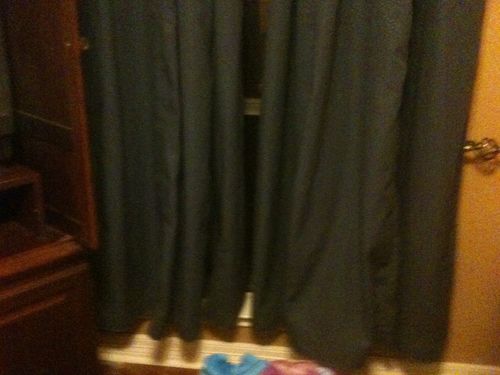
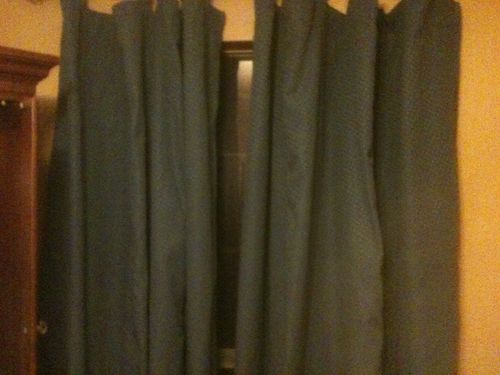
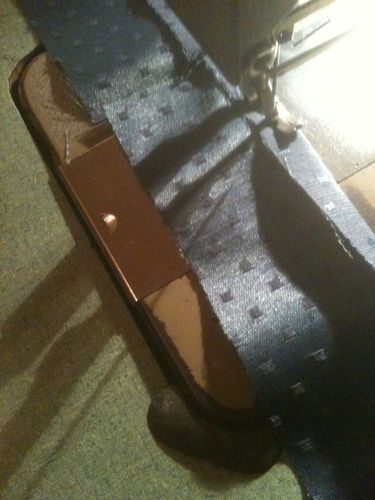
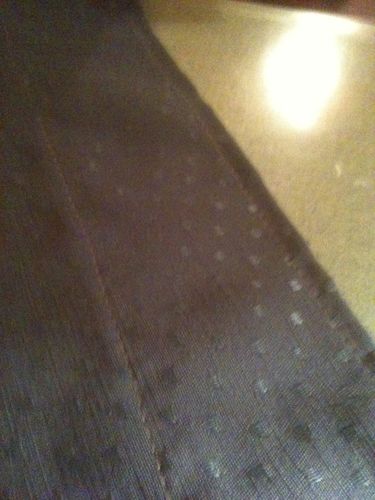
I don’t want some of the awesome projects to lose their place to a set of curtains so I’ll post them here. Those draperery panels they sell are all too narrow for my window by 2 feet. aI didn’t want to pay for real expensive custom drapes that would pick up a color in the loveseat fabric. Besides, I have a sewing machine and I can make them on the cheap. I’ll take other pictures of them after the fabric has a week to relax. They look rather mis shaped right now but gravity will take care of that.
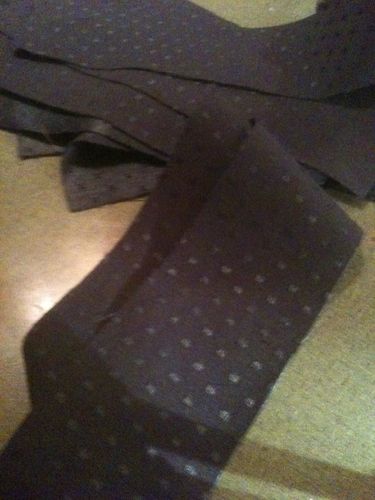
Those are called tab top panels. If you are interested in doing any sewing for upholstery, these are a great start. Here is what you do. 1) Measure your window. You need about 3.5 to 4 times width worth of material. You need to add 1.5 inches to the side of each panel and if you need to make the panels wider than the width of the fabric. Add 1/2 inch extra to each piece for sewing. Length wise. You add 1 inch for seams and at least 3 inches for a fold under if that’s how you want to handle the back side. 2) Cut those main panel pieces. Cut a 5 inch widths to match the width of your panels. Cut an even number of tabs for each panel. The will be space 3 to 4 inches from either side of the panel and 8 to 10 inches apart. If you want the tabs to be 1/2 inch wide, 1 inch wide, 2 inches wide or what ever using this formula. Cut width = 2X finish width X2 + 1. Length can get tricky just add these numbers If drapery rod is skinny, Add an inch to cut length, If it’s a big fat pole consider adding 2.5 inches. Now add 2X desired tab length + 2 to 4 inches. I over do it so I add 4 inches.
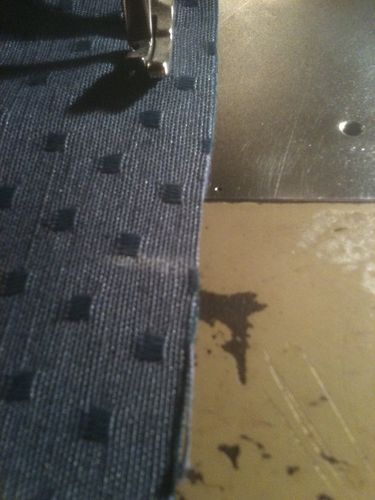
3) Sew up the tabs. Start with a half inch seam on one side.
4) Fold the opposite side over 1/2 inch then lay the 1/2 inch seam over that and stitch.
5) Flip the tab over to the front side and add a second stitch.
I didn’t bother separating the pieces, I just kept sewing one after the other in a chain.
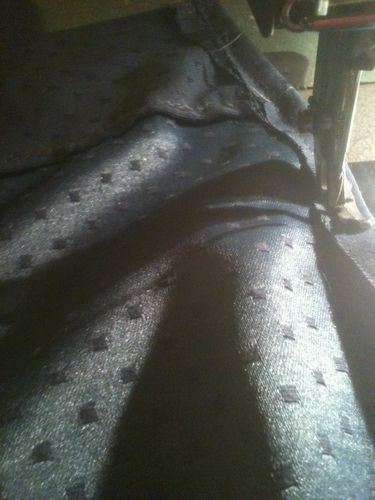
A) Maybe – If your panels are wider than the width of your fabric then you need to stitch them together. No picture for that but use a half inch seam. Now you have this loose fabric seam on the backside.
There are lots of ways to handle it. If your fabric won’t fray at the edges then you can just run a stitch on the topside to lock it down. There are lots of ways to handle it but this option is pretty simple for the beginner.
6) Go ahead and work on the bottom of the panels now. Start with a 1/2 inch stitch across the bottom.
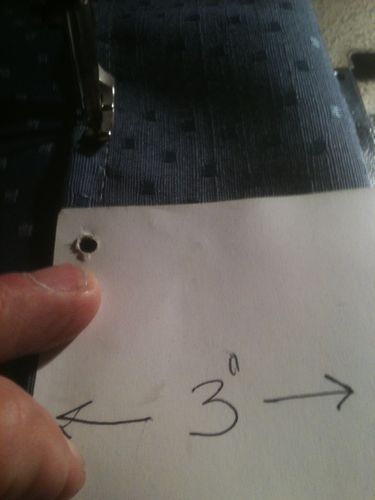
How much did you decide to fold under? I decided to fold under 3 inches so I made a little 3 inch wide card to keep my line easy to follow. A card is better than a ruler in my opinion because you know that your entire fold is accurate before you stitch it.
Flip the panel over and stitch the bottom of the fold under.
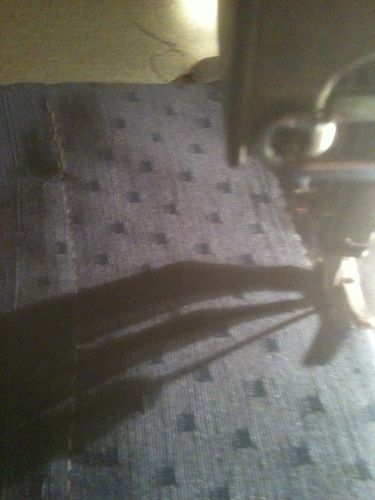
This is the finished bottom part of the panel.
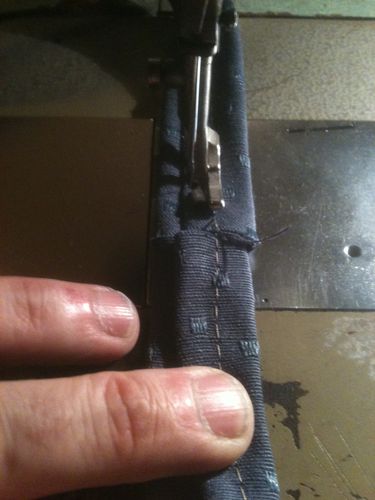
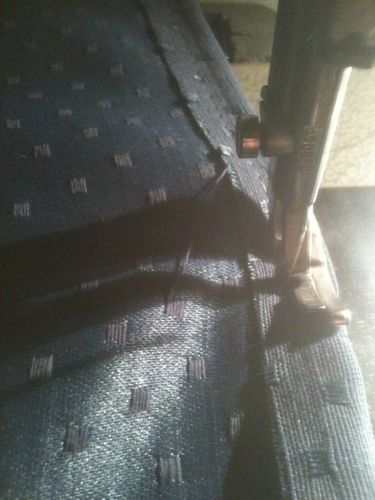
7) Let’s get the top done. I decided to put my end tabs on at 3.5 inches from the edge so I marked a little chaulk line at 5 inches from each side. I also decided my tabs would be 10 inches from center to center so I marked those spots with a little chaulk line as well. The chaulk marks are on the exposed face of the fabric because that’s what you will be sewing.
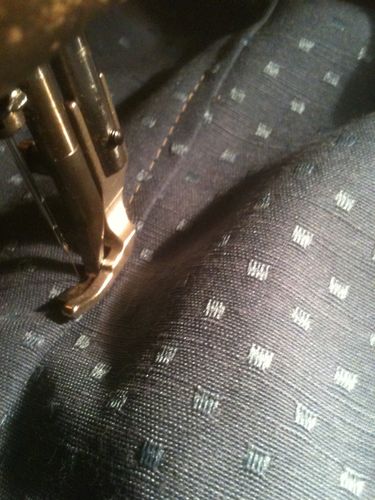
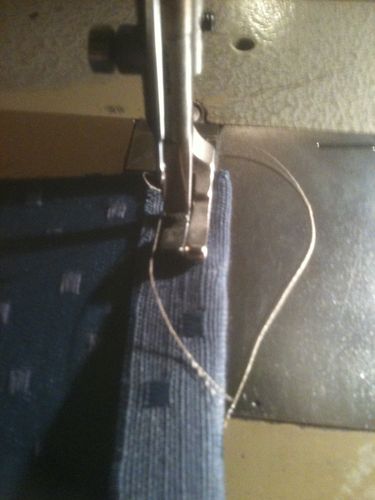
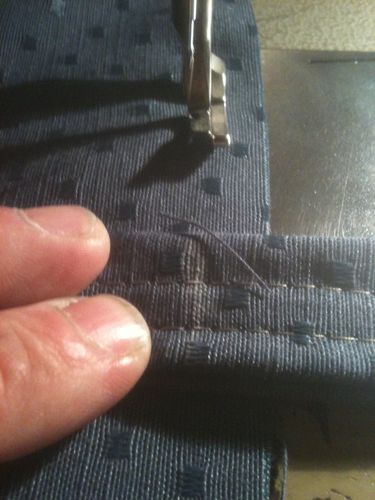
By the way, there is no need for carpentry precision here. If you are within a quarter inch – you will never know the difference much less anyone else. Since I decided to have 2 inches of tab to play with, I added a little chaulk line to the tab at 2 inches. Fold those tabs into a loop and sew them on. Run your stitch just shy of 1/2 inch from the top of the curtains. The loops will will lay on the fabric while the ends will run off the top. The loop is pointing to the left in the picture below.
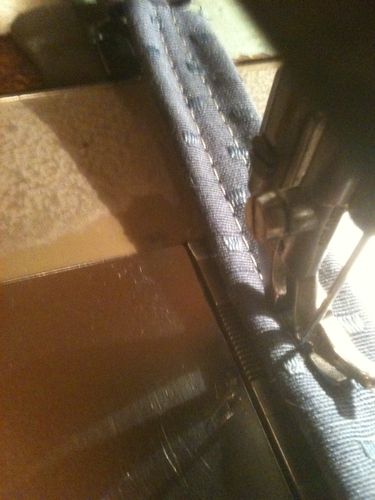
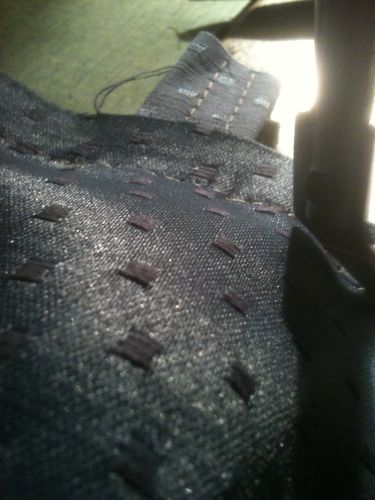
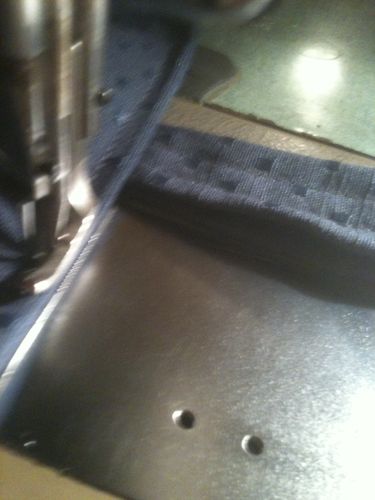
Flip over your fabric and sew that 5 inch strip to the top. The loose ends of the tabs are coming out the top.
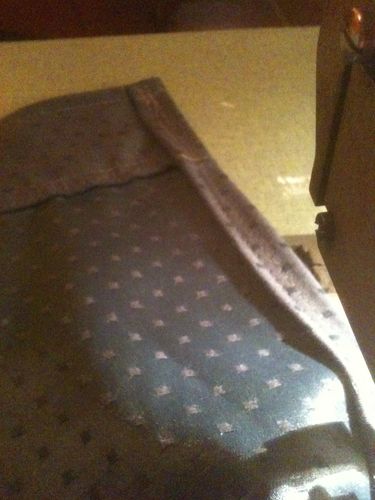
Now fold that strip over to the backside and the tab loops are now on top of the drapes. Run a stitch about a quarter inch from the top. Here is where it get’s a little finicky. Make sure your fabric is folded correctly. Pay a little attention there and you’ll be fine.
You will probably be better off sewing a half inch seam across the length of th 5 inch strip but I forgot so I did it next. No harm – no foul.
Now you can secure the strip to the back side of the curtain panel.
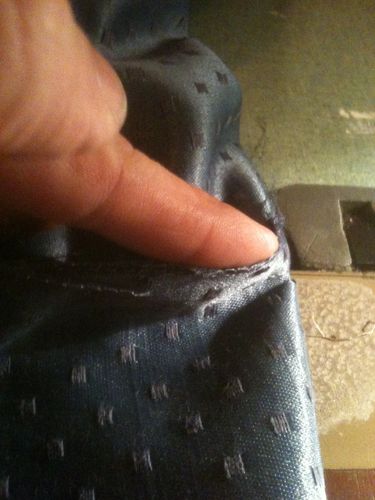
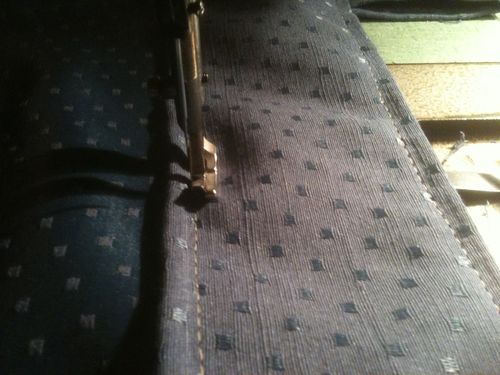
That finishes the top. 8) Home stretch now. Sew up the sides. First sew a 1/2 inch seam up and down both sides.
Now finish off your sewing by folding over your sides another inch and stitching them down.
A word of advice here. Don’t get hung up on the perfection of you half inch fold unders and one inch seams. When I folded the fabric over to do my 1 inch seam the fabric wanted to lay at a hair under 7/8ths of an inch. I just let it. You are not making a tailored suit. You are making some inexpensive curtains. They will look as good as those $50 panels they sell at Pennys and better than the stuff they sell at Anna’s or Wallmart. Don’t buy a fabric that is real stretchy or thin either. They are not for beginners. In case I wasn’t real clear, I’ll reiterate the reason I walked you through this. You can get the fabric that really works in your room and I’m setting you up for some upholstery sewing skills. This is a fine first step. I might be able to make it worth my time to sew these up myself but you may not. What I show you later will make this part worth it. It will also give you a bit of confidence and a feel for the machine. Feel free to blast away with questions. -- Working on my home for 2 years and counting. 
|
|
You must be signed in to reply.
|
|